
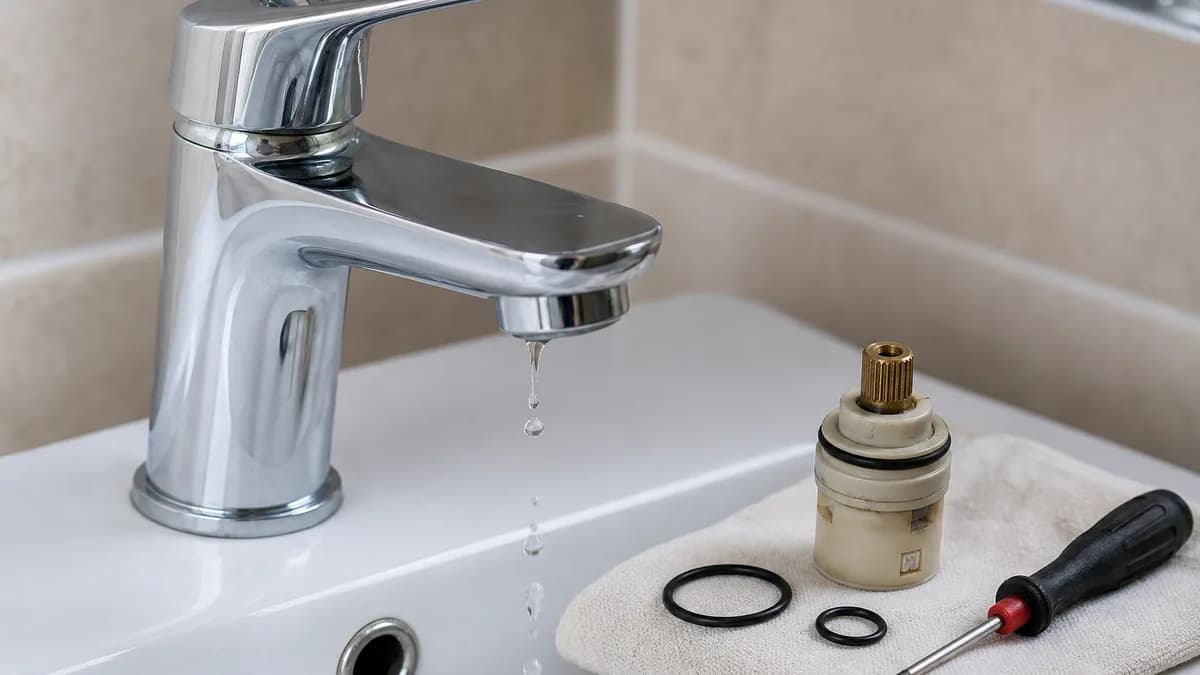
Leaking Tap Repairs: Causes, Tools and Safe Steps
Published by PHD24 · UK plumbing, heating and drainage guidance
A lasting tap repair fixes the failed seal and the reason it wore, rather than simply tightening the handle harder.
A safe job starts with isolation and a recovery plan before any tool is used. Confirm that the task is genuinely within normal user maintenance, have the correct parts ready and stop if the installation differs from the expected layout.
Prepare before you start
Modern taps use several cartridge and ceramic-disc arrangements, while older designs may use washers and traditional headgear. Identifying the make and isolating the supplies is more reliable than buying a generic repair kit first.
A straightforward tap-repair sequence
- Confirm whether the drip comes from the outlet, handle, spout base or connection below. Protect the finish, identify the exact part and restore water slowly. A careful test above and below the fitting is part of the repair.
- Close and test the isolation valves. Operate it gently and confirm that flow actually stops; a seized or passing valve should be repaired under controlled conditions, not forced during an emergency.
- Identify the tap model and remove the correct cartridge, washer or O-ring.
- Inspect mating surfaces for scale or damage. Use a method suitable for the finish and follow the maker's guidance. Heavy scale can hide worn seals, but aggressive acids can damage plating, stone and rubber components.
- Reassemble, restore water slowly and test hot and cold operation.
- Lay parts out in removal order so springs, washers and clips return to the correct position.
A practical, safety-first sequence
- Plug the waste so small screws cannot fall into the trap and protect decorative finishes from tools.
- Reassemble in the correct order and avoid overtightening seals or ceramic components.
- Restore water slowly and check above and below the worktop for seepage.
- Dry the tap and observe the exact leak point through a normal operating cycle.
- Confirm that the hot and cold supplies can be isolated without forcing old valves.
Common mistakes to avoid
- Assuming every drip is caused by a replaceable rubber washer.
- Forcing a seized isolation valve immediately before dismantling the tap.
- Using pliers directly on chrome or painted finishes.
- Overtightening flexible hoses, cartridges or compression joints.
UK context and safety
Parts that look similar may have different dimensions and splines. Use potable-water-approved components and do not work on a boiling-water tap unless competent and following its isolation procedure.
Isolate both supplies and verify that flow has stopped before dismantling a mixer tap. Take extra care with hot-water supplies and boiling-water taps. If safe isolation is unavailable or an old valve begins to leak, stop and arrange a controlled repair rather than forcing it.
Prevention and ongoing care
A repair is more durable when the surrounding causes and future access are considered as part of the job.
- Inspect flexible connectors and cabinet bases for early signs of seepage.
- Keep product details so the correct cartridge can be sourced later.
- Repair drips before mineral deposits damage seats and finishes further.
- Operate taps normally rather than forcing handles against their stops.
When to call PHD24
PHD24 can make a durable repair or recommend replacement when parts are obsolete.
PHD24 can identify the leak point, assess whether parts remain available and compare repair with replacement. The visit can also address weak isolation valves or damaged connections that would make a simple tap repair unreliable.
Call promptly if water cannot be isolated, wastewater is entering the property, heat or hot water has failed in vulnerable circumstances, or the fault involves gas, wet electrics or a risk to the building. For a non-urgent visit, photographs and a short history help PHD24 plan the right first attendance.
Frequently asked questions
Can I deal with this myself?
A like-for-like washer or cartridge repair may be manageable when both supplies isolate correctly and the part is identified. Stop if valves seize or concealed connections leak.
What information helps before an engineer visits?
Photograph the tap and leak point, identify the make if possible and report whether the hot and cold supplies isolate correctly.
Does American plumbing advice apply directly in the UK?
Not without checking it carefully. UK terminology, Building Regulations, water-company responsibilities, Gas Safe requirements and common system designs differ from US practice. Follow current guidance for the relevant UK nation and the equipment actually installed.